September 07, 2009

New Flapper

Replaced the flapper in one of our toilets (the red thing in the yellow circle). The old one had worn away and was allowing water to leak through.

It was pretty easy to do-- one of the easiest things to fix on a toilet, thankfully. Just pull off the old one, including the chain connected to the handle.

The new flapper came with its own chain. It also came with something to clip onto the tube but I didn't need it.

September 22, 2007

We're Roomba-ing

We were strolling through the Westfield Mall in Sherman Oaks and happened to notice the iRobot Roomba on sale at a Brookstones. Not only did they have the Roomba, but also the Scooba which washes and dries hardwood and tile floors.

I've heard of the Roomba before but have been kind of skeptical. How good could it really be?

On our recent trip to Austria, one of the other people in our group had one and said it really does a great job. So we walked out of Brookstones with both the Roomba and the Scooba.

So far we've cleaned our bedroom and living room with the Roomba and kitchen with the Scooba.

Here's the verdict:

It's pretty smart. The robots follow a certain logic for covering areas, going around obstacles and following along walls. This seems to work most of the time, though I've noticed it getting stuck going back and forth in a small area before finally finding its way out. At least that spot will be clean then.

It has a sensor that detects dirt, and will circle around dirty areas. I'm not sure how this works, but I've seen it circle around spots that are already clean. Again, not really a bad thing.

Both robots come with virtual wall devices you can use to block off areas that you don't want cleaned and aren't behind a door.

And the Roomba goes back to its charging station when done. It turns around and docks with the station, so it'll be ready to head out again. How cool is that!?

The Roomba really does pick up dirt. But if you're like us and haven't been vacuuming often enough, it'll need more than one run on a room. The dirt container is easy to clean out, so you just dump the dirt, recharge, and send it off again.

Although it's round, Roomba gets to corners with a spinning brush on its side. It can avoid obstacles, but just like a real vacuum it can get caught on electrical cords or carpets with fringes. The instructions do warn about this. But that's a good excuse to clean up those wires you've left hanging around the computer and home theater anyway.

I thought our cat would freak out but she doesn't seem to mind.

The Scooba is pretty simple to operate. Fill it up with water and cleaner, then empty the tank when its done. During the first cleaning of our kitchen, it stopped before finishing and we had to empty dirty and wash the filter before it would continue. But when it was done, the floor definitely was cleaner.

The bottom line is that it's great to clean the floor without lifting a finger. The Roomba is wandering around our living room hunting for dirt right now as I write this. It's almost like the Jetsons. All I need now is a flying car.

August 27, 2006

Wired Home

Wireless is making home wiring a bit easier, but it's still not up to the same speed as wired. When we remodeled our home a while back we planned to run ethernet cable from our home office to various room so we can plug in where we want. Plus we still need at least one more phone jack in addition to the one in our kitchen.

Our house already has lots of old wires from previous phone lines. During our remodeling, the contractor ran cables but didn't terminate them. So I had to clean up the old POTS lines (POTS = Plain Old Telephone Service) and also sort out the new CAT5 cables. All of this is sitting under our house which has a raised foundation, which has a 1-3 foot clearance for crawling around.

Getting the wires up to the wall jacks is tricky. It usually involves dropping another wire or string down, then taping it to the wire you want to run and pulling both back up. Hopefully they don't come apart. In some homes and especially offices, wires are run over the ceilings so you an just drop them down in the right place and let gravity do the work.

It helps to have the right tools. You'll need a wire stripper to cut the insulation from the conductor. I also have a wire cutter which can do the same if you press lightly. Plus a pair of pliers and a screwdriver.

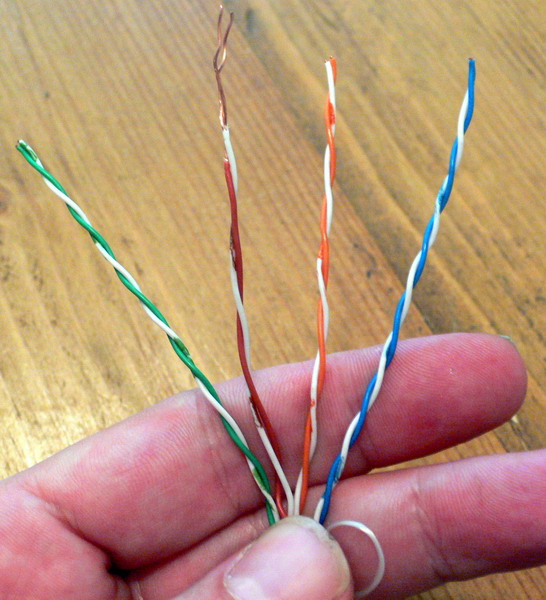
Phones use two wires per line, and most phone cables have 4 conductors for typical 2-line households. The wires are color coded. Usually red and green for line 1, black and yellow for line 2. But any two will do -- just be sure to use the same pair on the other end.

Ethernet uses 4 pairs (8 wires), which is makes up standard CAT5 cabling. The wires are color coded. The same rules apply as phones: use the same colors on both ends.


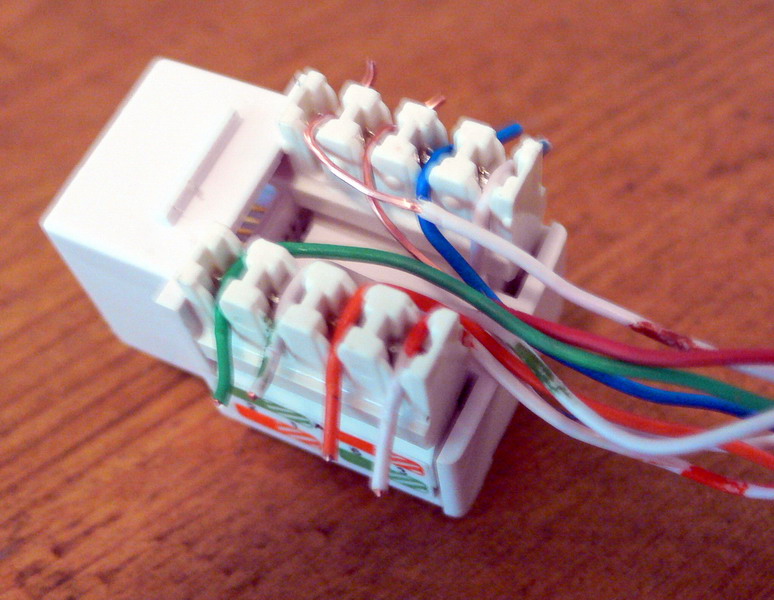
With most jacks, the wires don't need to be stripped. They have slots with metal clamps that strip the wires when you push them in.

Just position the wires in the right places:


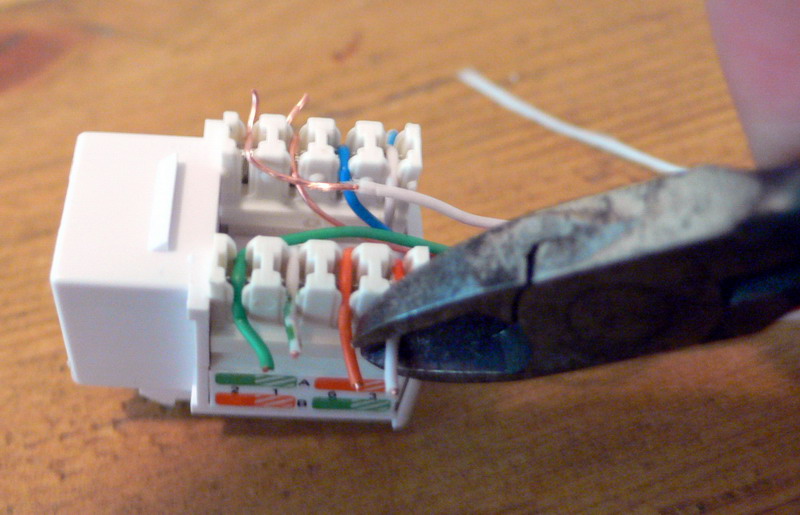
Then trim exceess cable and make sure they're tucked in well.


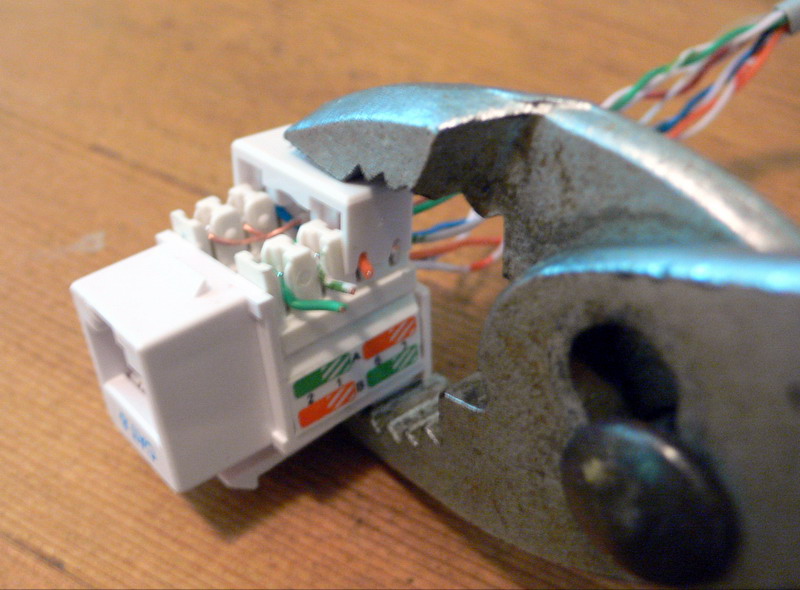
Then use pliers to clamp on the top piece which pushes the wires into clamps.


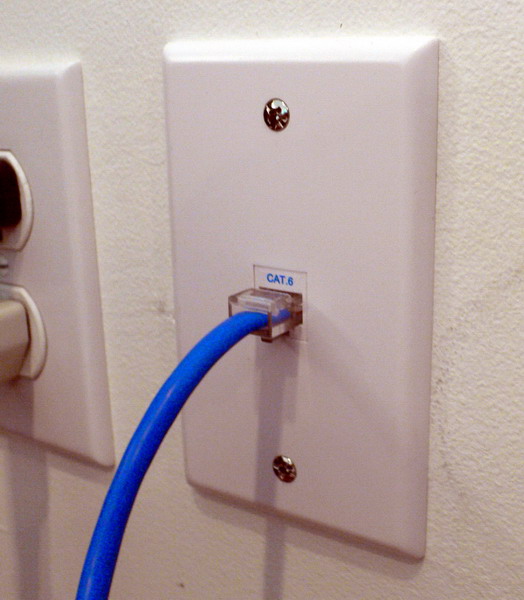
Always make sure to check the connection before putting it all together. Then snap the jack into the faceplate.


And then check connection again after screwing in face plate. Just to be sure.

February 26, 2006

Cats


Misto relaxing
Originally uploaded by buzzcoffee.

We've started uploading pictures of our cat, Misto.

They're here:
http://www.flickr.com/photos/buzzcoffee/sets/1062188/show/

We picked up Misto after our last cat, Megan passed away. Misto was timid at first, but has become really comfortable with us (as you can see) and established herself as the Queen of the House.

She has a few favorite places to hang out, like in front of the fireplace or on window sills. Or freshly cleaned laundry.

We enjoy spoiling her with kitty grass and other treats. When we make coffee and have extra frothed milk, Misto gets her share. She loves it.

So enjoy our Misto pics (plus a few of Basia, our M&D's cat), and keep stopping by for updates.

December 04, 2005

Garage Finished

Voila, the finished garage!


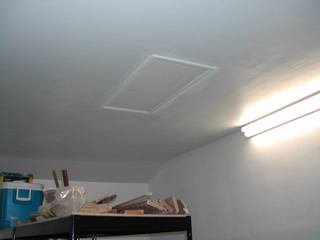
Nice door to storage area above ceiling.

October 23, 2005

Drywall is Up

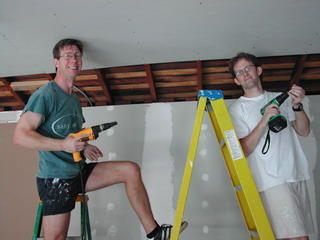
Work continues on the garage. We have all of the drywall up now.

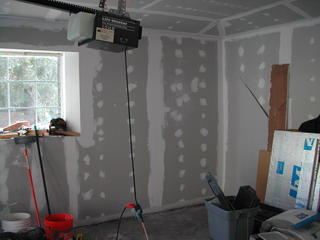
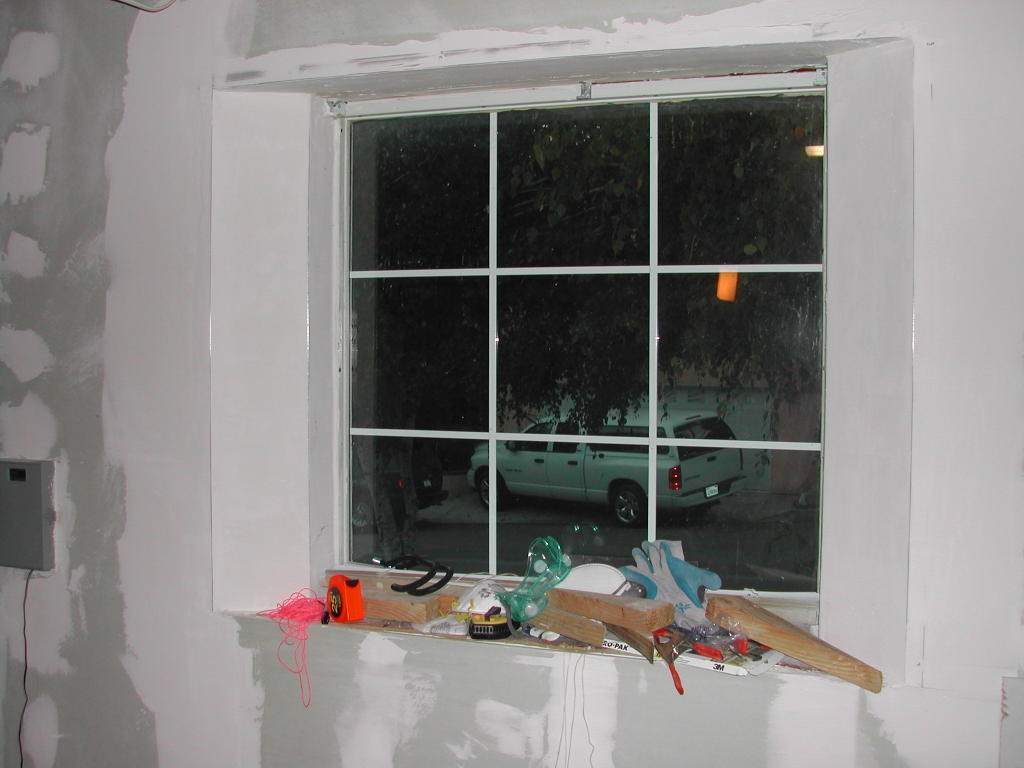
With the drywall up, the next step is to fill in the gaps between the boards, cover screws and nails. All of the gaps are covered in a gause tape that we'll cover over eventually.

Here's Fran applying the "mud."

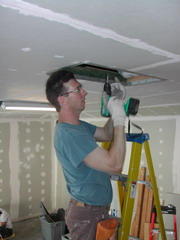
Here Andrew is fastening a metal edge to the hatch in the ceiling we can use for storage.

October 02, 2005

The Garage

After completing our home remodeling we decided to do some garage remodeling. Our garage was in pretty sad shape, and wasn't getting much use except for holding lots of junk and remnants from the work on the home.

Our brother-in-law Andrew is a home repair expert, so we turned him loose on our garage. He started by reinforcing the joists and beams that make up the roof structure. With that in place, he added insulation, cleaned up the electrical lines, and added a nice flourescent light in the middle of the area.

The next step was to put up drywall to cover the structure and insulation. This is a painstaking process of measuring, cutting, fastening, etc. etc. Andrew did most of it himself, but I was able to help out this weekend.


Here we are putting up a panel on the ceiling.


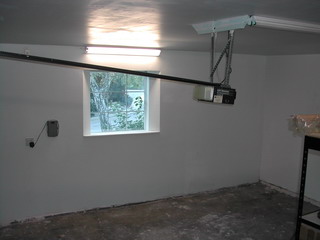
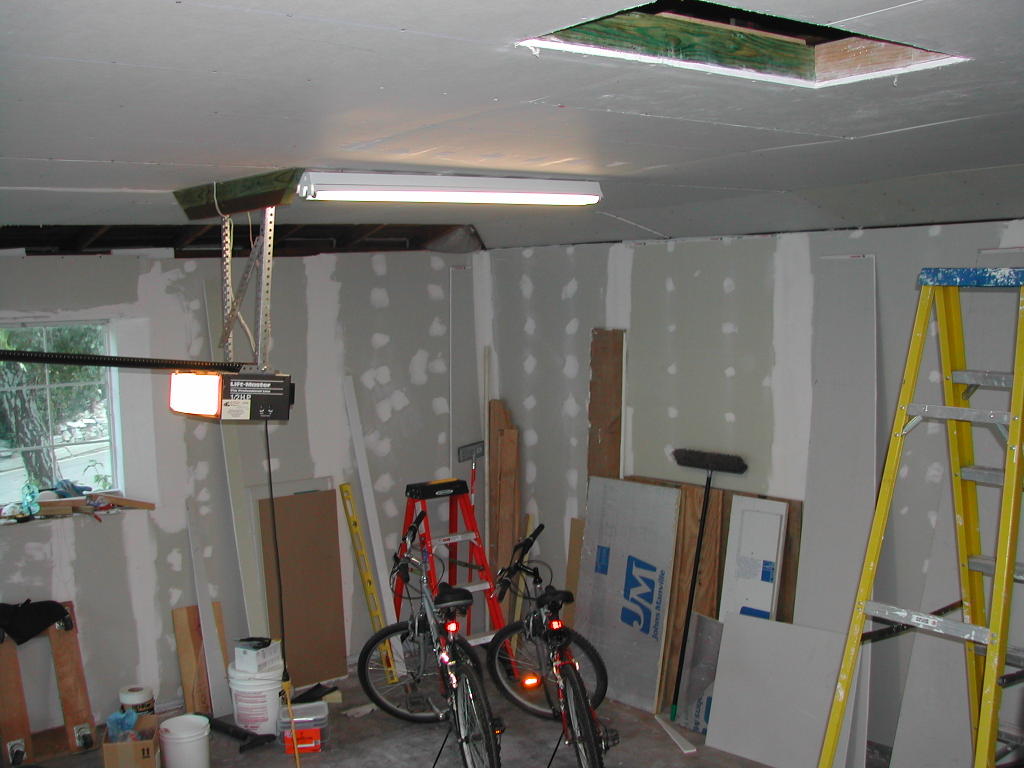
This is the garge so far. The hole at the top is a hatch to a storage area.


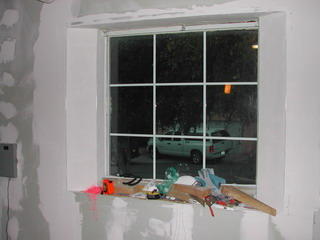
One of the goals is to have a proper window sill for our cat Misto to sit on. Okay, the whole project is probably due to the cat. We know who's boss!

There's still a bit more to go. After the drywall is is up, we'll fill in the cracks and add a skin to smooth everything out. Then comes paint.

August 16, 2005

Enjoying our Home

After the patio, we put on the finishing touch, an overhang that is half roof, half open slats. We decided not to paint it for that "natural" look.


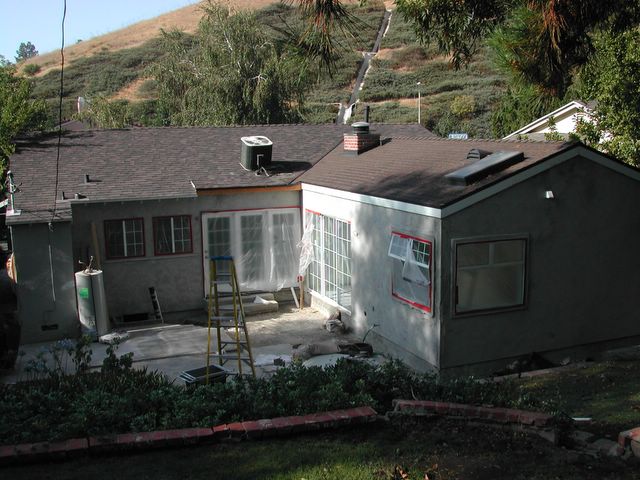
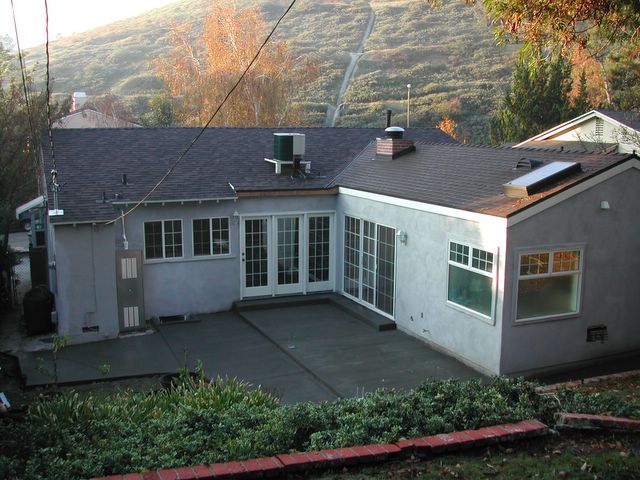
Just for comparison, here is our house one year ago:


The patio has been done for a few months, and we've been happily enjoying our home now. We have a few smaller projects planned, so stay tuned.

April 23, 2005

Patio Tiles


We're back to work on the home again. Picking up where we left off, we're adding tiles to the back patio.

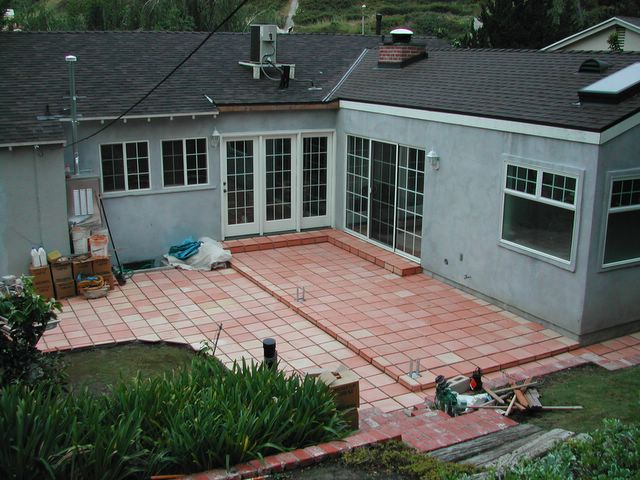
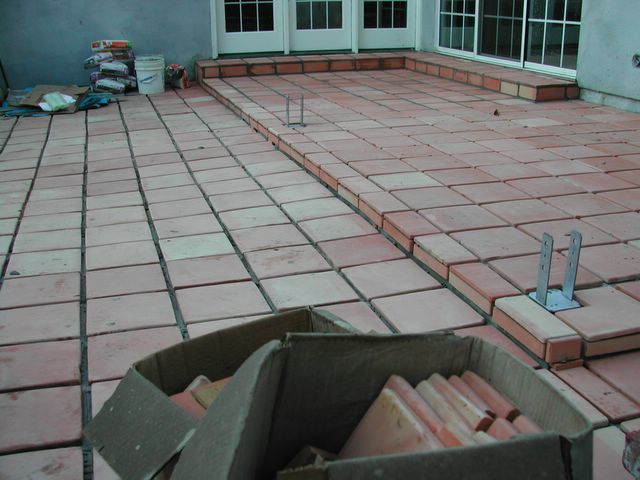
These are ceramic "Saltillos" hand made in Mexico.


Here they are finished. It took about a week to get done.


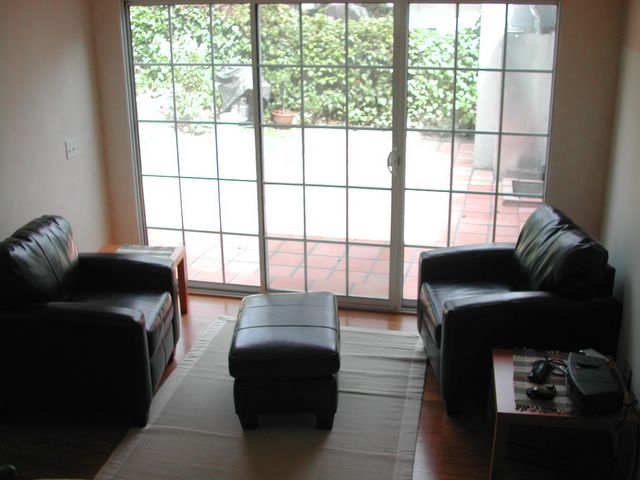
Looks great from the new chairs in the master bedroom. (We call this area the "Starbucks Suite").

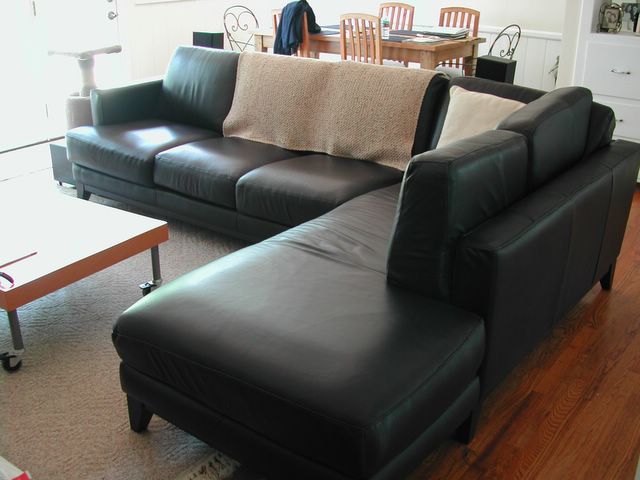
And the new sofa in the living room.

February 05, 2005

Taking a Break


After trying out the tub, we decided to take a short break before taking on the next big step: The Patio. In the time being, we'll enjoy our "new" home.

December 01, 2004

Moved in


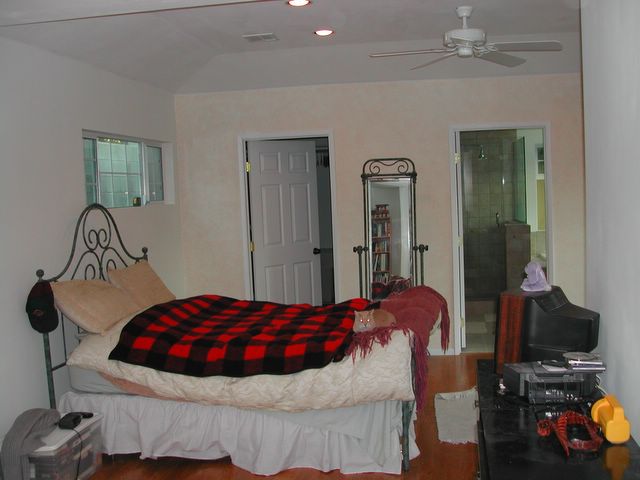
We finally moved into the bedroom!

Bathroom Fixtures


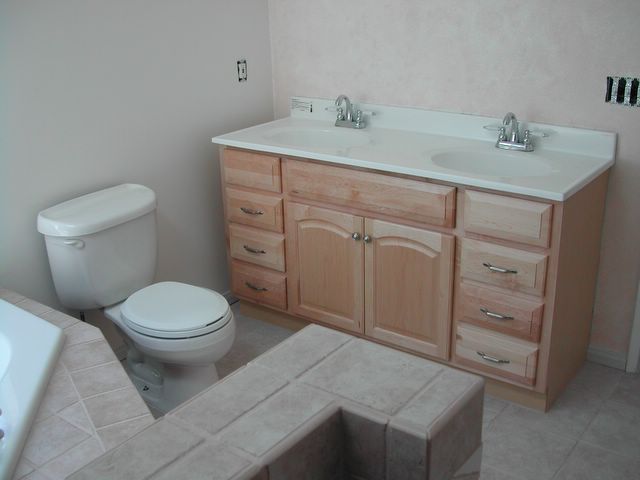
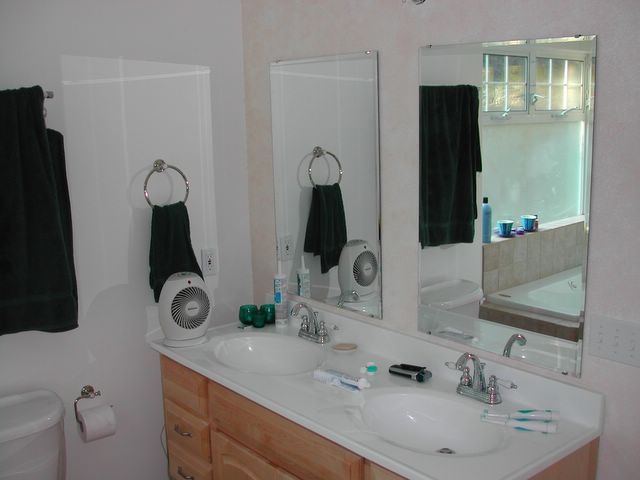
Next came the double sink and toilet.

And some additional finishing touches.

November 01, 2004

Shower and Tub


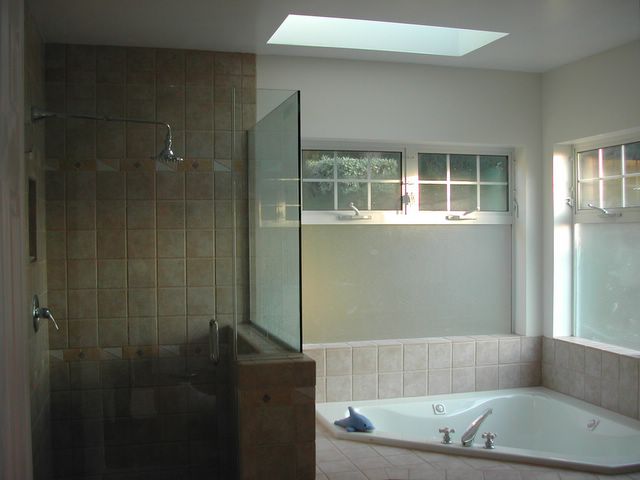
Shower and tub are now finished.

Can't wait to try it out!!

Living Room


We also made some changes to our living room. We took out a wall and change a regular door...

...To sliding doors. Cool, eh?


October 01, 2004

Kitchen Relocated


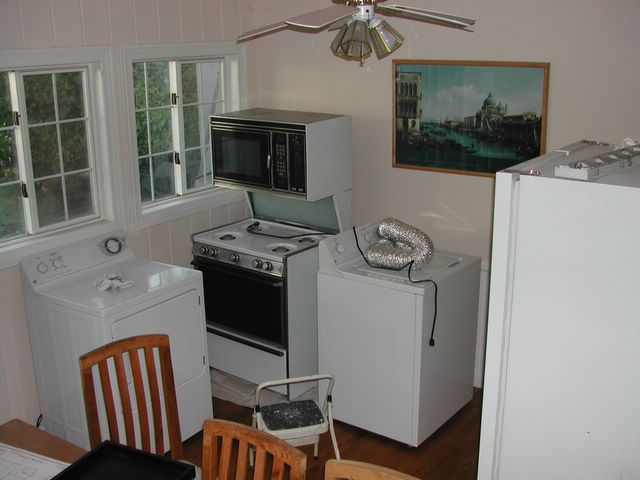
We liked the tiles so much, we put them in the kitchen too. But we had to move out all the appliances first!

Closet and Ttiles


Walk-in closet! Woohoo!

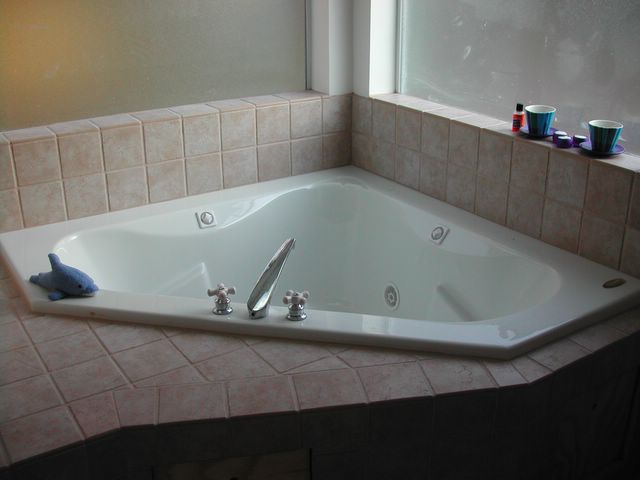
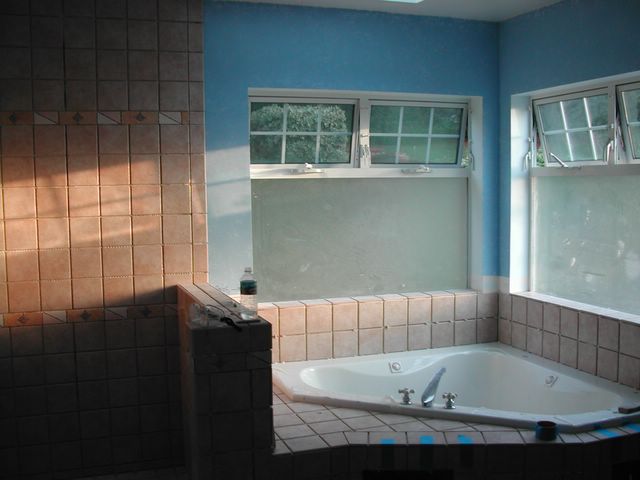
With tiles in place, the tub is looking even better.

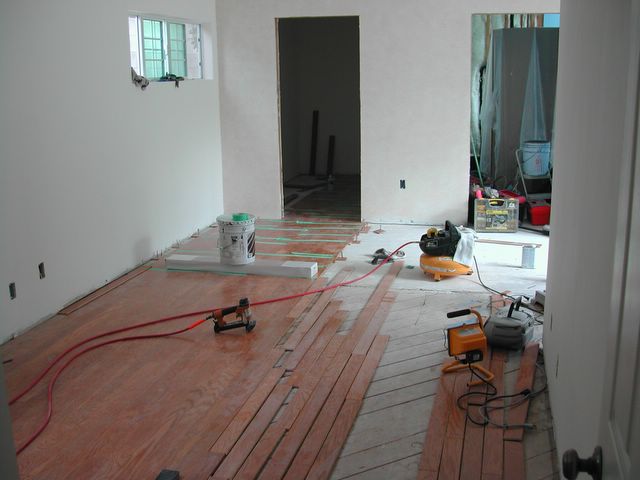
Floors


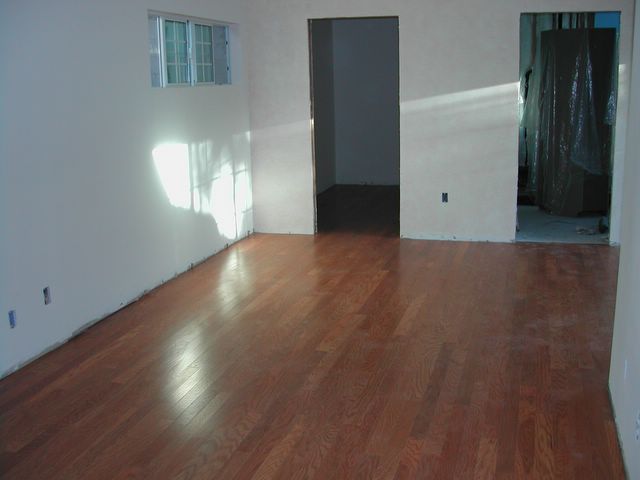
We matched the wood floors from the rest of the house.

Very nice!

August 01, 2004

Painting


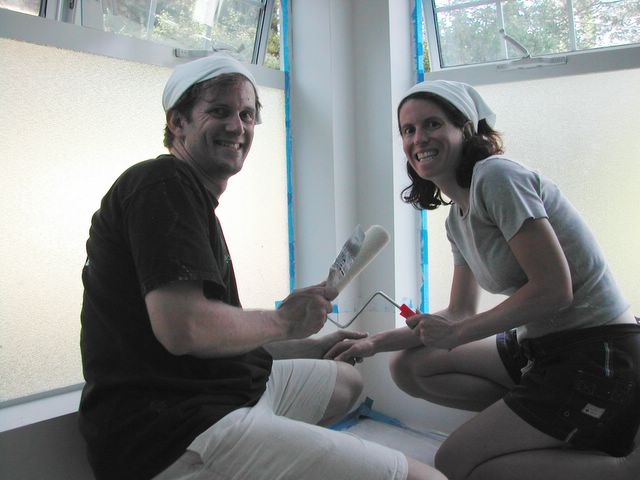
Painting is so much fun.
Really.


Our colors were Swiss Coffee and Light Cappucino (sponged). Yes, we love coffee!!

Interior Walls


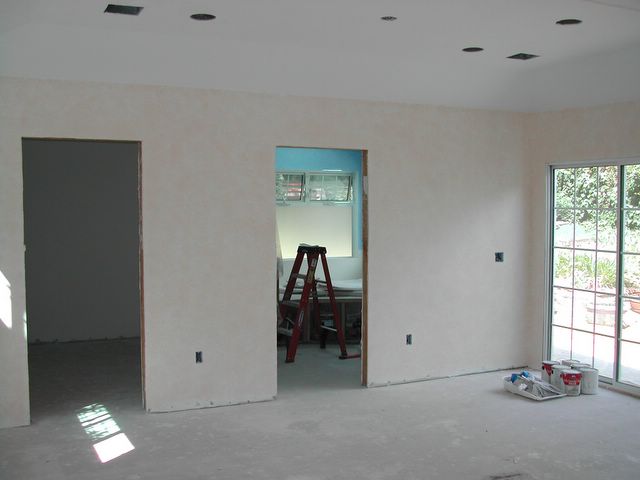
Now we have walls again.

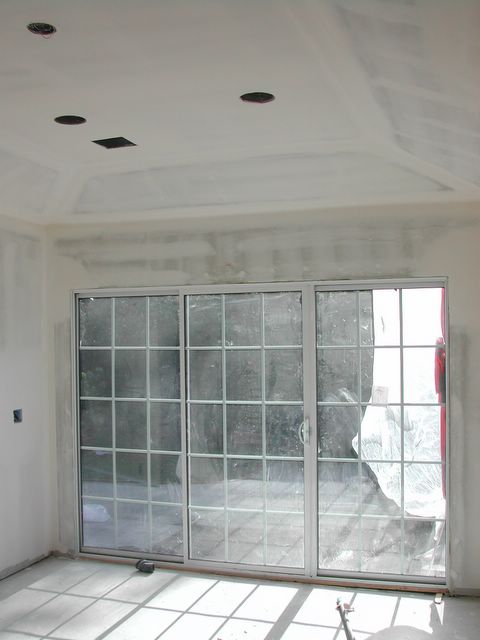
And a cool vaulted ceiling w/recessed lights.

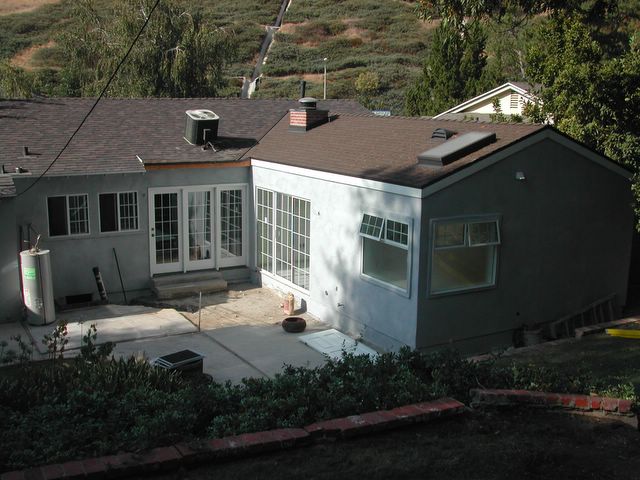
The outside is looking better too.

June 01, 2004

Inside


Then we started working on the inside.

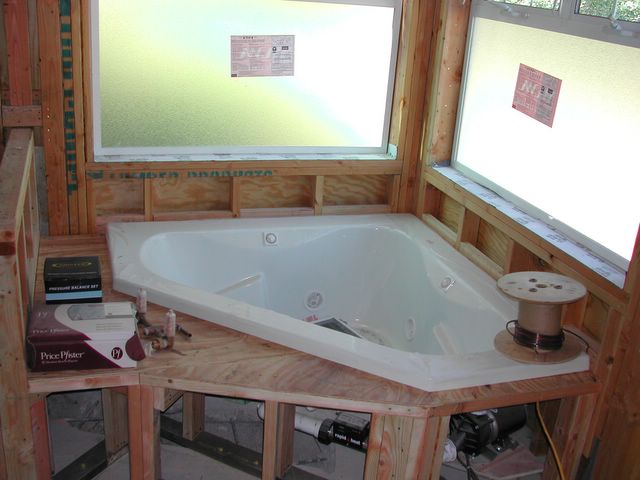
We added a corner jacuzzi tub. (Sooo nice!)

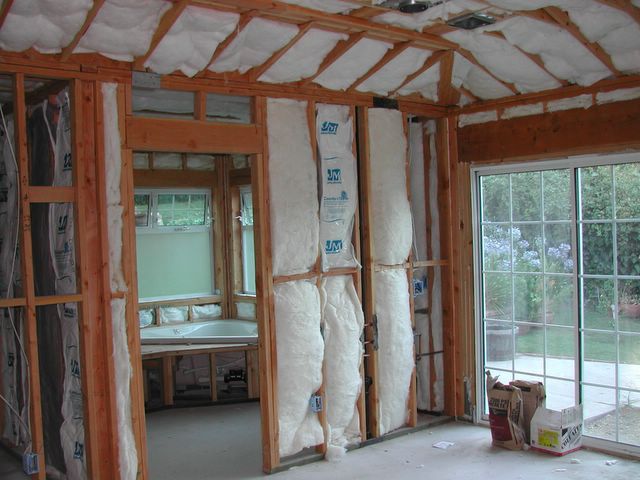
Insulation to protect from heat as well as cold.